
GOV.UK
HTML & CSS based prototyping using GOV.UK prototype kit
Creating a replica of a government service using the GOV.UK Design systems and Prototyping kit.
Summary:
I coded the Child Benefits service by GOV.UK using HTML and GOV Prototype Kit. My goal for this project was to sharpen my HTML and coding skills whilst learning how to use the Prototype Kit efficiently.
I was able to create a seamless journey following guidelines from the GOV Service Manual, whilst keeping the quality to the same level set by the GOV Service Standard.
Goals for the project.
My goal was to learn and create a prototype for an already existing government service, using the provided GOV.UK prototype kit and design systems to make better use of my HTML and CSS coding knowledge.
However this project was not only focusing on creating a prototype, more so that I would be able to educate and study on how government services are created, and follow guidelines using the Service Standard and Service manual.
My objective was to create a close replica of the Child Benefits government service provided to users on GOV.UK. Using components from the GOV Design systems and writing code from memory to hone my skills further.
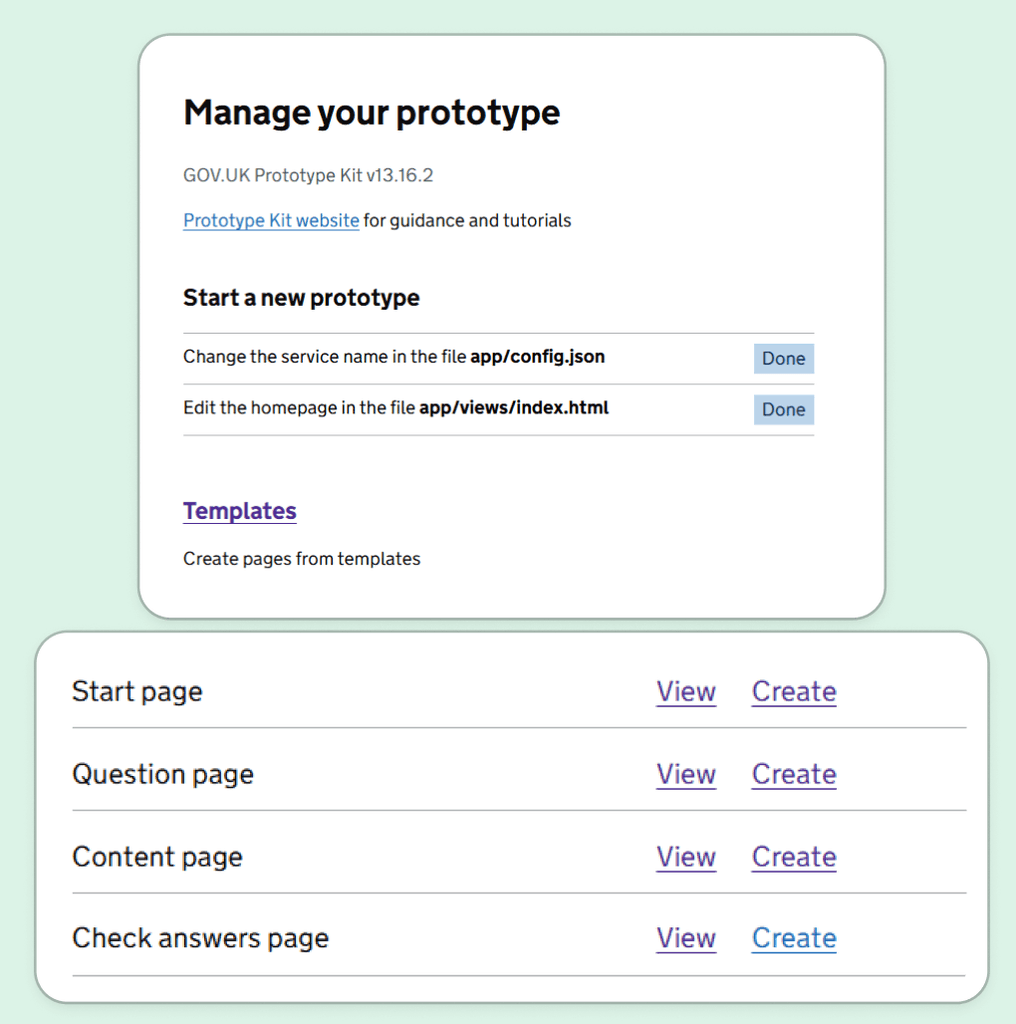
Prototype Index page for Child Benefits GOV services.
A few things before starting the project.
I researched what resources were provided by the official government website to ensure my approach would follow the same high standards as government services published on GOV.UK.
Setting up the initial software and tools was a breeze. I downloaded Git Bash to use as a terminal as advised by the GOV.UK website, and used Atom as my code editor.
Although the popular and suggested VS Code and Notepad++ code editors were highlighted on the guide, I was more comfortable and familiar with Atom. It also helped that Atom was one of the suggested code editors on the installation of Git Bash.
Although, Atom has stopped receiving updates since 2022, and in my opinion, it would be best if this was taken off Git Bash and replaced with ZED (same developer as Atom).
Git Bash set up and Atom linked as the default code editor.
The resources used throughout this project.
To better understand the process of creating a service, rather than focusing only on a functioning prototype, I used the following resources to gather more data and understanding of GOV services:
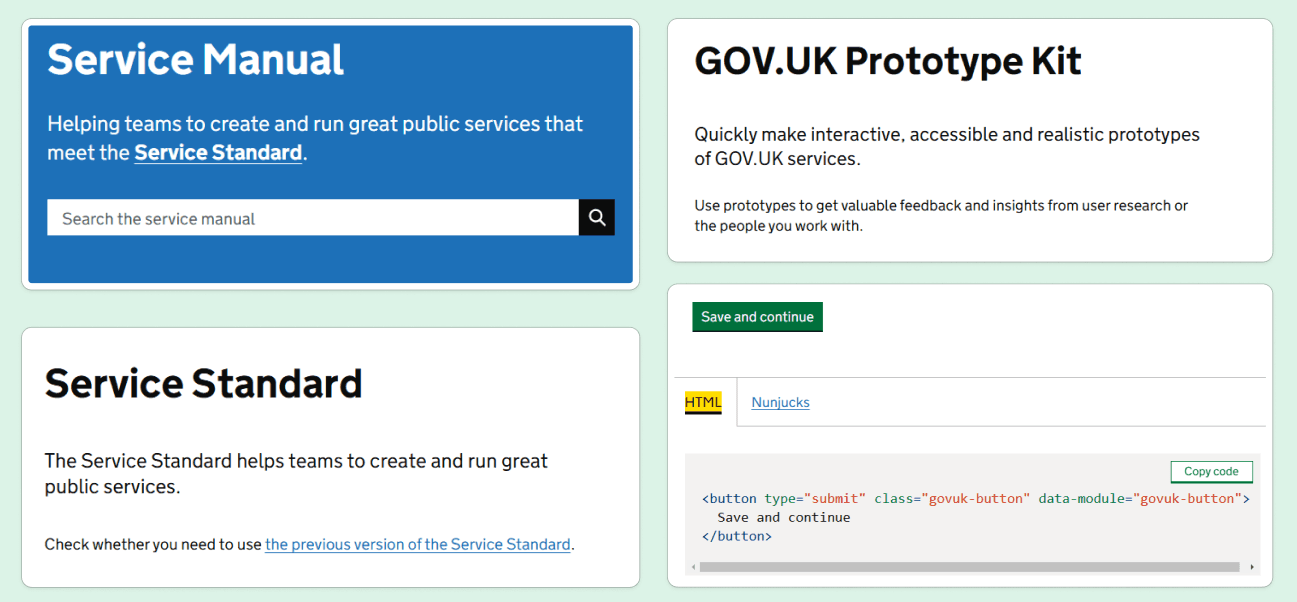
🧬 Service Standard: To help stay up to date and on track on how problems are solved, and great public services are created.
🔬 Service Manual: To better understand the principles of building a good service and keep up to date with accessibility needs.
🌌 GOV.UK Design System: Allows me to better understand the components library and HTLM code of government systems and services.
🛠️ GOV.UK Prototype Kit: Self explanatory. To create the prototype itself and write the code for the service replica I wanted to make.
🌐 GOV.UK website: I used the government website to better understand the steps in the journey, branching journeys, responsiveness and padding of elements.
Taking this approach allowed me fully understand the reasons behind decisions made throughout the user journey, and helped stay on track and organised.
GOV.UK resources used.
Why I chose the Child Benefits service journey.
It was important for me to choose a service provided by GOV.UK that I hadn't used in the past. I wanted to ensure that I had no prior knowledge of how the exact process looked like.
This would help me better understand how branching works within that process, and learn something new along the way. I understand that certain journeys branch to other pages based on users' choice and selection.
I believe other designers and UX folks can also appreciate that someone who isn't familiar with a process / product would be able to notice things that someone who knows a process insight out won't be able to as easily.
Why not create a new service?
The GOV Service Standard and Service Manual have a lot of resources on how important it is to understand user needs specific to a service they are providing. I also understand the importance of user research and gathering data before creating a service, which I don't have access to!
Although it would be quite fun to create something from scratch and tackle unsolved problems, the goal was to hone my coding and prototyping skills further, whilst using a new tool, hence my decision to replicate an existing journey instead.
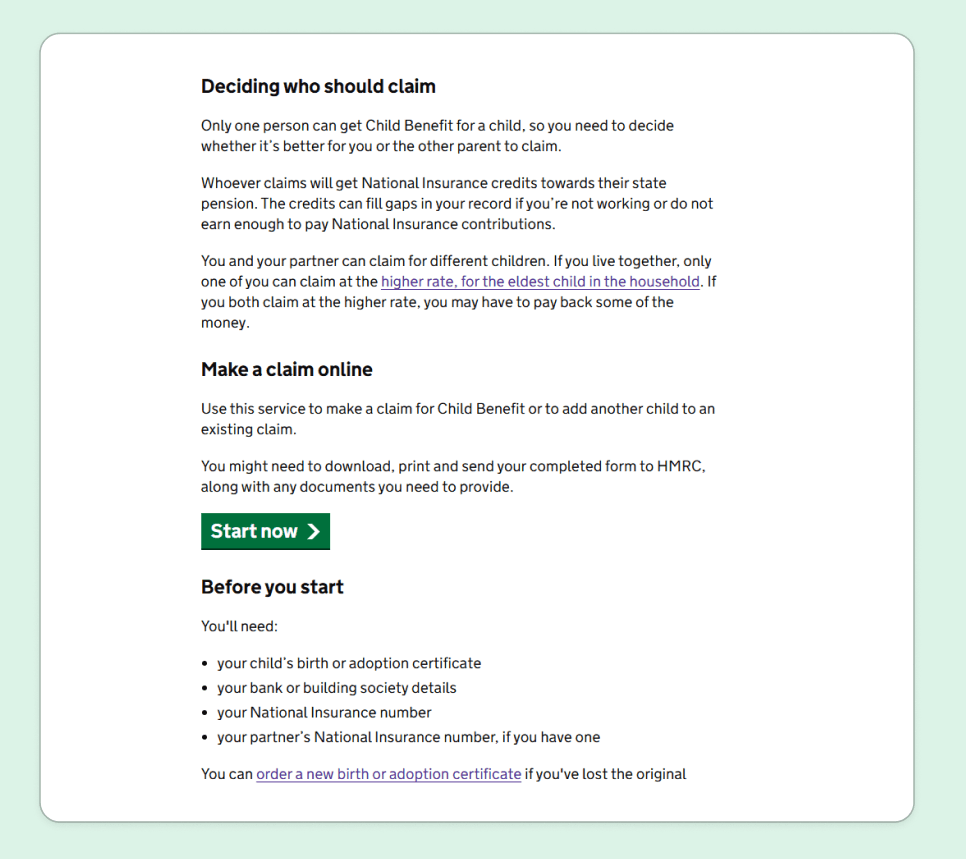
Start page prototype.
Understanding the code and functionality.
I will skip the initial set up stages as that won't add much value. Instead, I want to tell you about how I got started on the starting page!
First task I had was to understand the code and functionality, rather than copy and pasting components from the design system to get the same look.
I started by adding the bulk of the text initially, and learned quickly that using multiple <p> paragraphs helped a lot with managing the correct spacing between the content.
Dividers helped a lot with the hierarchy of the page, especially helping separate the Contents <li> list from the headers. As for the start button, this was fairly simple to link to the next page, as there would only be 1 destination. So I used:
{{ govukButton({
text: "Start now",
href: "/claim-child-benefits",
isStartButton: true
}) }}
Referencing the destination page I had already created using the templates from the prototype, for a simple Questions page.
Creating new pages using the templates provided.
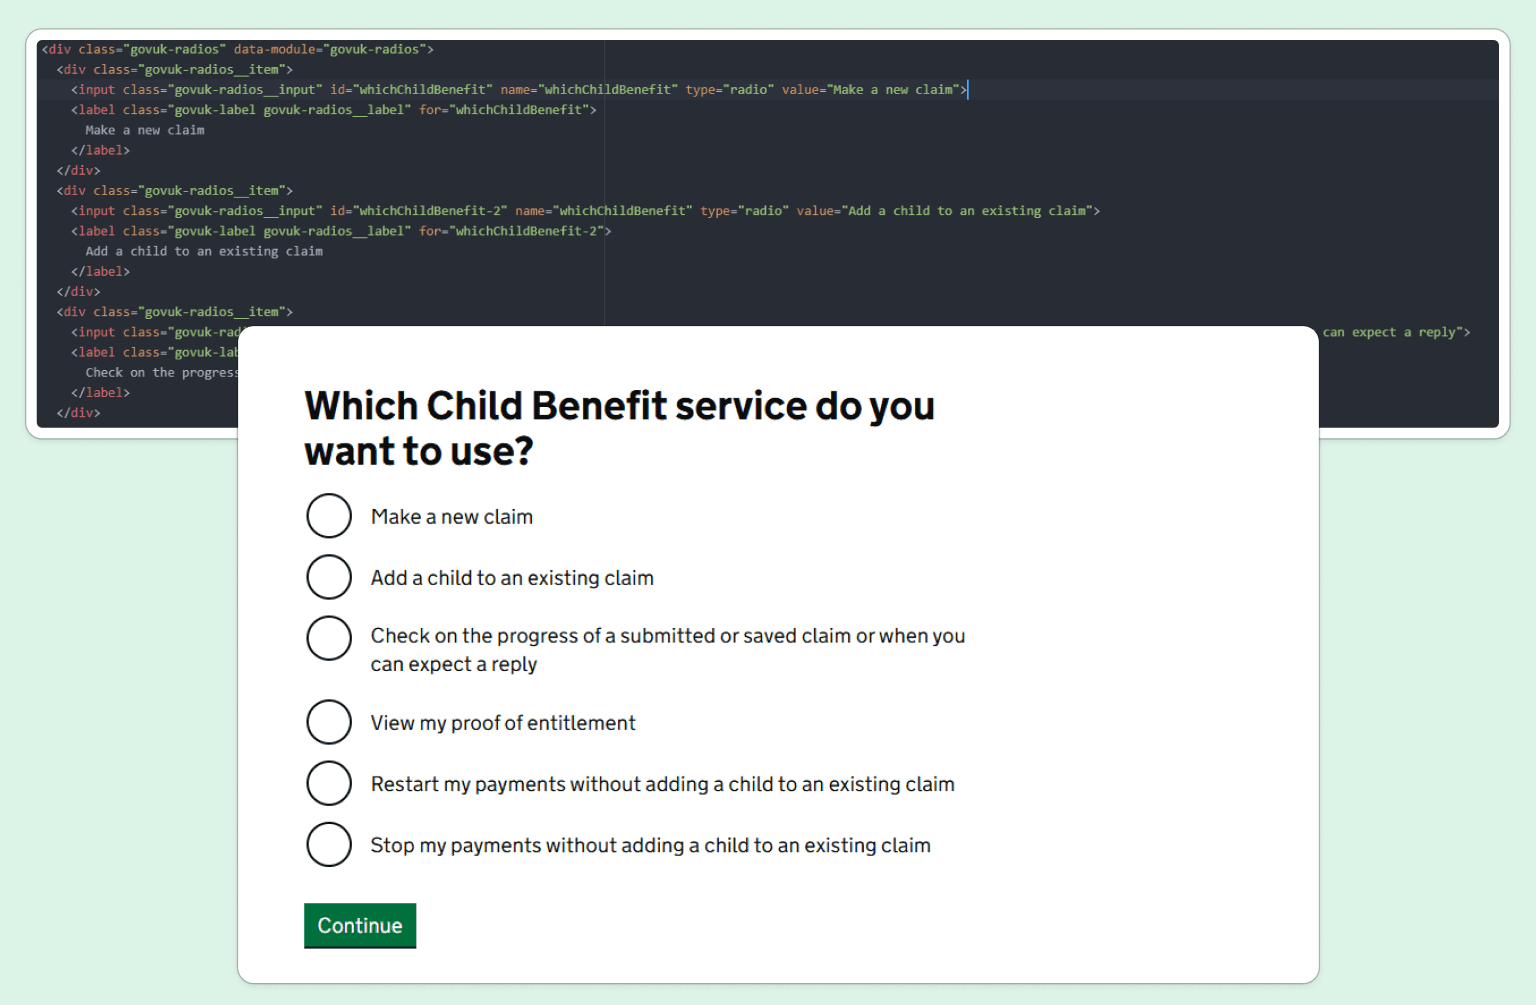
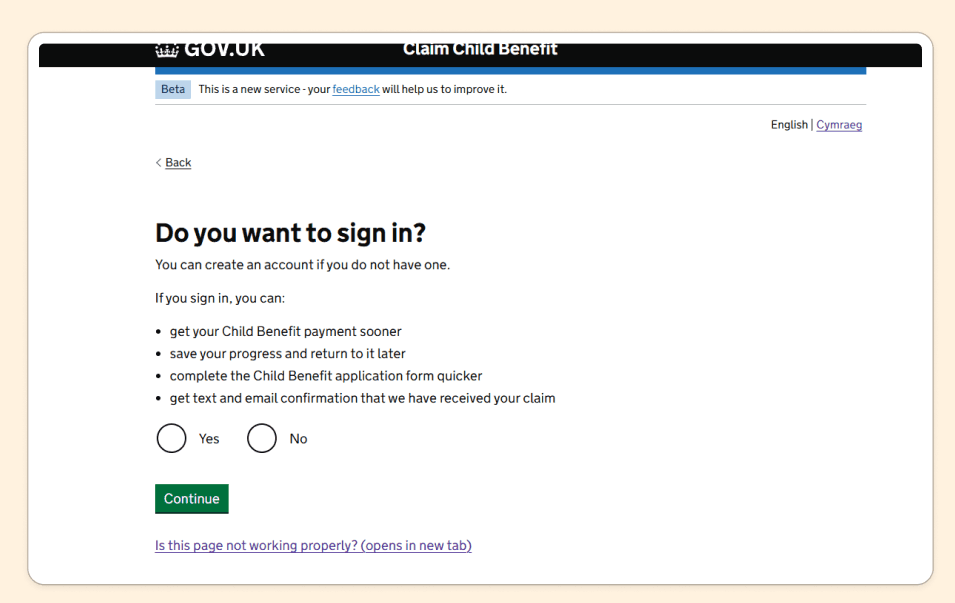
A radio style questions page, with a variable destination.
The next page would be asking the user the most common asks during the process (I assume based on the choices provided on the official service journey).
Creating the actual page was no problem at all. I was able to take examples from the GOV Design Systems for radio buttons and replicate the same choices offered to users on the official journey.
I imported the radio button group <div class="govuk-form-group"> and kept the same name for the buttons, using whichChildBenefit for all radio buttons on this page.
I used the same name as I knew I could differentiate each button by adding a unique #number to the ID of each button instead, allowing me to specify where each button should take the user if I wanted to set up a route function later on!
Creating the first questions page.
To keep things simple, I will use the following page as my route.js example.
The next stage is of course linking the user decision to a specific page. I will be using the next step in the prototype to show case how I achieved linking pages together based on users' answer to the question.
Opportunity to create a router.
if (login == "yes") then we take the user to the log in page.
Sign in is the correct term, but I have the code function as name=login to keep typing the routes simple.
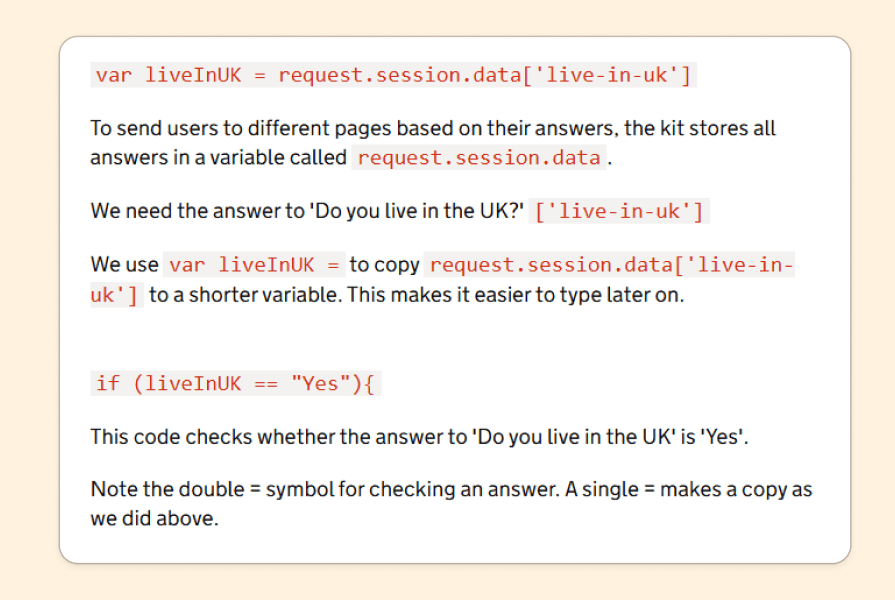
router.post('/are-you-sure-to-continue-without-sign-in', function(request, response) {
var login = request.session.data['login']
if (login == "yes"){
response.redirect("/login")
} else {
response.redirect("/are-you-sure-to-continue-without-sign-in")
}
})
Using the above code, I was able to link a specific user action to a specific page, based on that answer. I initially set up the code to include the correct naming convention on the radio buttons itself.
<input class="govuk-radios__input" id="login-1" name="login" type="radio" value=yes>
This is something I thought ahead about when creating the radio buttons initially. I do want to keep names simple, avoid spaces, and related to the action a user is taking.
I operate in this manner so if anyone in the future picks up any of my code, they'll be able to recognise and understand what a line of code is related to, very quickly.
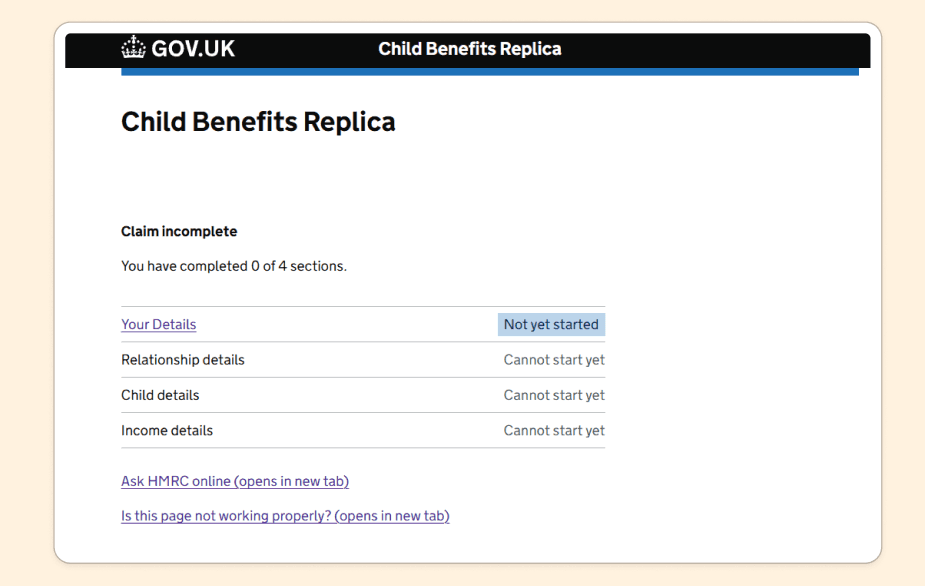
The final page I created for this service.
The next stage would be to actually fill out a Child Benefit form and details, which I can't do as I am not eligible!
Here is what I learned from this case study.
The problems I ran into.
It did take me a couple of hours to realise why my routes were not working. I wasn't sure if it was the naming of the buttons, or my destinations, or even the route code itself.
However, it was the continue button!
<button class="govuk-button" data-module="govuk-button" type="button">Continue</button>
I believe I added a static button with no functionality to it at all, so the action would do nothing, and stay on the same page! It took me a while to figure this out, but finally I got it to whilst I was looking at the guides on how to do routes.
{{ govukButton({
text: "Continue"
}) }}
Learning how routes work - https://prototype-kit.service.gov.uk/docs/create-routes
Using padding helped, but I failed to make the prototype fully responsive.
I looked at the guidelines for padding provided on the GOV.UK Design Systems page. However, I could not figure out how to actually make the UI responsive within my code.
I understand the code that makes the website responsive, but wasn't sure on where I would be able to place the code, and if this was just a limitation of the prototype tool.
My goal is to improve on this in the future, when I practice more and prototype a bigger service journey.
Prototype Index page for Child Benefits GOV services.
Using HTML and the Prototype Kit.
I loved using this method to create prototypes, with instant feedback and so many resources to be able to solve problems that arise. The tool is quite intuitive, and makes things fairly easy.
I do believe that my prior experience in coding, HTML, CSS and Python came in quite handy, as I understood a lot of the basics, and studying the resources put me in a position to be able to create prototypes using the Prototype Kit with ease.
I wanted to create something using the Prototype Kit and GOV resources in order to prepare for any roles within GOV and GDS.


